a <- c(1, 2, 3, 4)

plot(a)1 Setting up your software environment
There are multiple computer languages and software solutions that could satisfy our needs. However, we will focus on a combination of continuously improved tools that makes it easy for the user to perform data analyses, collaborate on doing them, communicate the process and results, and to do all this in a reproducible manner. This first chapter is basically a check-list of what you must install on your system to take full advantage of the proposed tools.
1.1 R
R is a free, open-source software designed for statistical computing. We will use R as a part of an environment (using RStudio, introduced below). To download and install R:
Select your operating system (Download R for Windows, MacOS or Linux).
- If you have Windows, choose
base, click on “Download R (…) for windows”, save and run the file. The installation process should be self explanatory. - If you have MacOS, download and install the latest release.
- If you have Windows, choose
Run the installer to install R.
1 What is CRAN? See here for the FAQ answer. Basically, this is the website that keep the latest version of R and many of the extensions (R packages) that you will use when working with R. A major advantage of using R over other similar solutions is the well maintained package system, making it easy to install and understand user-contributed packages.
1.2 Rtools
Rtools is used when you build your own R packages (more on that later), and when using some advanced software packages that talk to R, like Stan. If you only imagine basic use of R and related software, Rtools is not strictly needed, and you could install it later.
1.3 RStudio
RStudio is a software designed to make it easier to use R. It is free to download and use. It is designed as an integrated development environment that lets you organize your work together with R and other tools. Install it by going to https://www.posit.co/.
- Select “Open Source” and RStudio IDE
- Scroll down and find the Open Source Edition
- Download the installer made for your operating system.
1.4 The Anatomy of RStudio
The appearance of RStudio can be changed for a more pleasant user experience. I like a dark theme as it is easier on the eye. We can also move the different components of RStudio. I like to have the console on the top right and the source on the top left. I think this makes it easier to see output when coding interactively. All this will be clearer as thing evolve, but for now, start R Studio, go to Tools > Global options and make it personal (see Figure 1.1)!
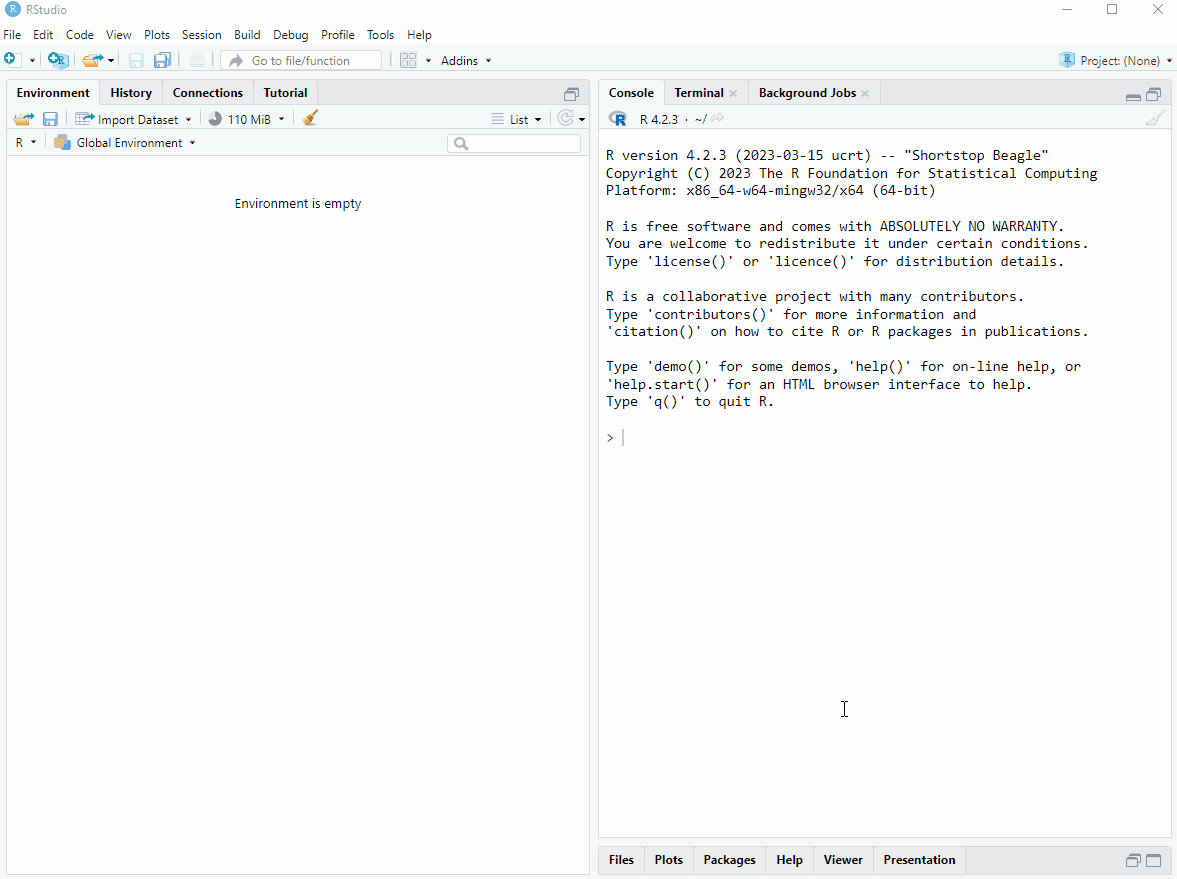
As you may have spotted in the image above, it is possible to change the font of your editor. I like Fira code.
Defining concepts
Source editor: Is where scripts are edited.
Environment: In R, the environment is where data variables and structures are saved during execution of code.
Script: Your script is the document containing your computer code. This is your computer program (using a loose definition of a software program).
Variables: In R, variables are containers for data values.
Workspace: This is your environments as represented on your computer. A workspace can be, but should not be saved between sessions.
1.4.1 The source editor
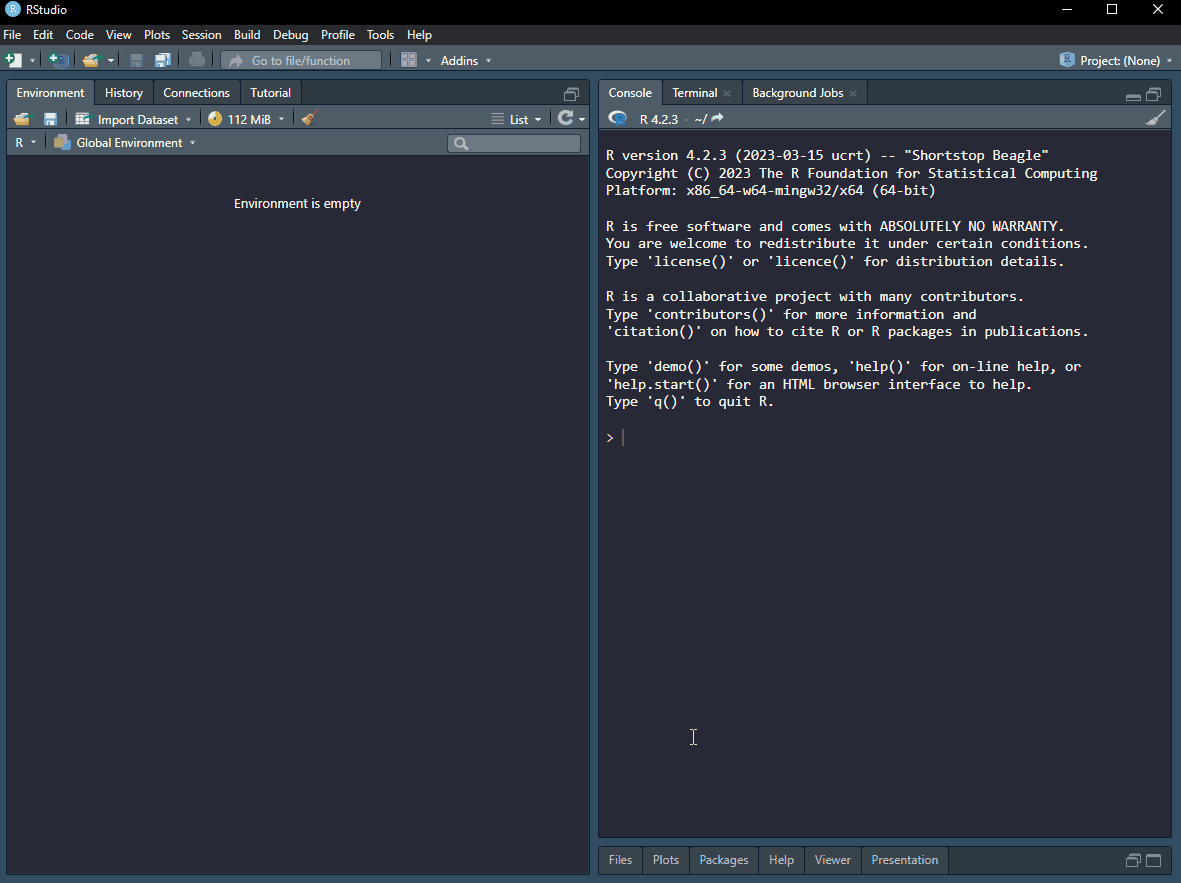
The source editor is where you edit your code. When writing your code in a text-file, you can call it a script, this is essentially a computer program where you tell R what to do. It is executed from top to bottom. You can send one line of code, multiple lines or whole sections into R. In the image below (Figure 1.2), the source window is in the top left corner.
1.4.2 Environment
The environment is where all your objects are located. Objects can be variables or data sets that you are working with. In RStudio the environment is listed under the environment tab (bottom left in the image).
Copy the code below to a R script. To run it line by line, set your cursor on the first line a press Ctrl+Enter. What happened in your environment? Press Ctrl+Enter again and you will see a plot in the plot window. Amazing stuff!
1.4.3 The console
By pressing Ctrl+Enter from the script, as described above, you sent your code to the console. You can also interact with R directly here. By writing a in the console and hitting enter you will get the value from the object called a. This means that it is also where output from R is usually printed. In the image below, the console is in the top right corner.
1.4.4 Files, plots, packages and help files
In RStudio files are accessible from the Files tab. The files tab shows the files in you root folder. The root folder is where R will search for files if you tell it to. We will talk more about the root folder later in connection with projects. Plots are displayed in the Plot tab. Packages are listed in the packages tab. If you access the help files, these will be displayed in the help tab. In the image below all these tabs are in the bottom right corner. More on help files and packages later.
1.5 Reproducible data science using RStudio
When starting to work more systematically in RStudio we will set some rules that will allow for reproducible programming. Remember from Chapter 2 that part of a fully reproducible study is software/code that produces the results. It turns out that when working interactively with R you can fool yourself to believe that you have included all steps needed to produce some results in your script. However, variables may be stored in your environment but not by assigning values to them in your script. This will become a problem if you want to share your code, a certain value/variable needed to make the program work may be missing from your script.
To avoid making such a mistake it is good practice not to save variables in your environment between sessions, everything should be scripted and documented and assumed not defined elsewhere. In RStudio we can make an explicit setting Not to save the workspace (See ?fig-saveworkspace).
1.6 Git and Github
Git is a software that you need to install on your system in order to enable version control. There are alternatives but git is likely the most used freely available softwrae. Github is a web platform that allows collaboration and web-based storage of your work. First, we will install git.
For windows:
If you have Windows, Go to https://git-scm.com/downloads and download the latest version for your operating system.
Run the installer. Make a note of where you installed it!
For Mac:
If you are on Mac, the easiest thing is to first install Homebrew, this will make it easy to get the latest version of what we will need. Go to https://brew.sh/ and follow the instructions. Note that you will need to open the terminal and enter the install command.
Install git by entering the follwing command in a freshly opened terminal:
brew install git
Check if git was installed by restarting the terminal and write
git --version
Additional warnings might appear indicating that you’ll need some extra software. More specifically, you might need Xcode command line tools. To install these, go to your terminal and enter
xcode-select --install
If you had problems with the homebrew installation itself or the brew installation of git before, try again after installing xcode command line tools.
1.6.1 Create a GitHub account
The first thing to do is to establish a GitHub account.
- Go to github.com and click “Sign up”.
- Select a suitable user name and a plan, there is a free alternative.
1.6.2 Download and install GitHub CLI
The easiste way to set up your GitHub client is to use GitHub CLI. GitHub CLI is a collection of commands that will be available on the command line after installing the software. These commands include setting up the connection between your computer and Github.com. But they also contains commands for day-to-day version control.
- Go to cli.github.com/ and select the download alternative for your setup. There are several alternatives for installing GitHub CLI, see here.
1.7 Setting up Git and GitHub
First we will let RStudio know where git is located
- Open RStudio, go to Global Options under the Tools menu. Go to the Git/SVN sub-menu and find the folder where git.exe is located by browsing in the “Git executable” field.
On windows:
If you have installed git using default settings your git.exe should be located in C:/Program Files/Git/bin/git.exe.
On Mac:
If you have installed git using homebrew, your git version may be found in /usr/local/bin/git.
Next we need to connect our git software to github. This is done by authentication. There are several options, however below are one option that should work right away! We will take advantage of the neewly installed GitHub CLI.
To perform the authentication process:
- Open a terminal and type
gh auth login, follow the instructions.
Done!
1.8 Quarto and friends
The R community has pioneered literate programming for data analysis by early adoption of file formats that lets the user combine computer code and output with text (Peng, Dominici, and Zeger 2006). A well adopted file format in recent years have been R markdown which combines R code with text and lets the user compile reports in multiple output formats from a source document. R markdown is an “R-centric” approach to literate programming. Even though it lets you combine multiple computer languages, all code execution goes through R. Recently, a new format was introduced, Quarto, which is not executed through R but its own dedicated software, Quarto.
Peng, R. D., F. Dominici, and S. L. Zeger. 2006. “Reproducible Epidemiologic Research.” Journal Article. Am J Epidemiol 163 (9): 783–89. https://doi.org/10.1093/aje/kwj093.
Rmarkdown and Quarto have many similarities in that you can use markdown, a well established markup language to format text with a plain text editor (like notepad). This means that for the R user, most differences between RMarkdown and quarto in formatting your documents are irrelevant for getting started.
As quarto authoring requires its own software, we need to do some installation.
- Go to quarto.org
- Click “Get Started” and follow the instructions for downloading Quarto CLI.
A nice output from a quarto source documents is a PDF. In order to create PDFs using R/RStudio/quarto we need to install a version of the typesetting system TeX. Quarto recommends2 using tinytex which is easily installed after you have installed quarto.
2 See the quarto documentation for details on creating pdfs and installing TeX distributions https://quarto.org/docs/output-formats/pdf-basics.html
- Open up RStudio and a fresh terminal
- type
quarto install tinytexand follow the instructions.
You should be ready to go now!
1.9 Summary
In this first “lesson” we have installed R, RStudio, git, GitHub CLI, quarto and tinytex. You have also created a github account. These are the tools that you will need to go further in this course. But what if you run into problems? Do not worry, the internet is at your service! A lot of people work very hard to make it easy for beginners to adopt their tools. Documentation of the tools we have installed so far is available through google or any other search engine. People are also very helpful in answering questions, answers to large and small problems can be found in forums such as stack overflow.